10. Move around a lot in the classroom. It is good exercise and helps students stay on task.
9. Always have tissues and band aids.
8. Greet students when they come into class.
7. Kids like to tattle, and teachers are who they tattle to.
6. Never use sarcasm.
5. Encourage curiosity over right answers.
4. Don't talk too much. They hardly hear a word we say anyway, (and talking louder won't help.)
3. Teachers really do have their favorites, but they usually get the least attention.
2. Have faith in students and discourage neediness.
1. Try to consider things from their point of view.
Wednesday, June 6, 2012
Tuesday, June 5, 2012
Summertime Projects
Summer is here, and we are taking some breaths and maybe thinking a complete thought here and there! Last year, I thought I might try something a little different for the first project back to school, and we made some summer scenes, because well, it still feels like summer in TX. when we go back to school!
Surfboards
Materials:
Paper cut to 12X15
Watercolor
Permanent markers
White oil pastel


Materials:
White paper cut to 12X15
Manila paper, torn in half lengthwise
Blue plastic wrap, or cellophane
Shells
Sand
Little pieces of towel, cut about 2X3 inches
Tackyglue

1. Paint sky with watercolor.
2. Glue manila paper across the bottom, trim off excess length.
3. Cut a small piece of plastic wrap to fit width wise. Wrinkle it and glue it across the top of manila paper.
4. Make small wavy lines with glue on "sand" or manila paper. Sprinkle sand over it.
5. Glue on some shells and the towel.
6. Glue on a sun.


The idea for the flip flops came from Art Projects For Kids

Surfboards
Materials:
Paper cut to 12X15
Watercolor
Permanent markers
White oil pastel
1.Draw a wave design on white paper about half way up. (Yes, it can be a challenge to see white on white, but the kids actually enjoy the challenge) The paper can be turned either vertically or horizontally. Paint over with blue watercolor.
2. Provide handouts of different surfboard designs, and students can use their own ideas. color with markers.
3. Use a template, or allow them to draw the surfboard shape, making it big enough. Glue onto waves. Cover surfboard with "wax" (varnish or Modpodge)


Beach Collages
Materials:
White paper cut to 12X15
Manila paper, torn in half lengthwise
Blue plastic wrap, or cellophane
Shells
Sand
Little pieces of towel, cut about 2X3 inches
Tackyglue

2. Glue manila paper across the bottom, trim off excess length.
3. Cut a small piece of plastic wrap to fit width wise. Wrinkle it and glue it across the top of manila paper.
4. Make small wavy lines with glue on "sand" or manila paper. Sprinkle sand over it.
5. Glue on some shells and the towel.
6. Glue on a sun.


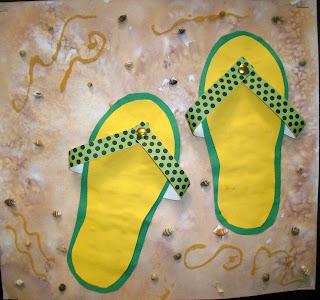
Flip Flops
Materials:
Colored paper
Strips of printed scrap paper
White square paper about 12X12
Sand
Shells
Brass Brads
1. Paint the white paper with lt. brown watercolor using wet into wet.
2. Use a template to cut out flip flops, and a slightly bigger one for the edging. Glue these together.
3. Glue the straps to the back of the flipflop, coming out horizontally. Let dry.
4. Attach a brad to the ends of the strap and poke through the flip flop and attach. (You can pre-poke a hole to make it easier and more accurate.
5. Decorate background with swirls of glue, then sprinkle sand. Add a few shells


T Tube Fish

Materials:
TP tubes
Watercolor paper or heavy white paper
Colored plastic notebook dividers
Colored dots
Plastic wrap
Watercolor
1. Make background by painting with watercolor, then placing a piece of wrinkled plastic wrap on it, leave to set for a while.
2. Paint the tube any color. We used metallic paint.
3. Cut two even slits at the bottom and top of the tube.
4. Provide a template for the fins and tail. Make two front fins and one tail. Students trace and cut on the plastic.
5.Put a couple dabs of tacky glue in the slits and slide the tail and fins into them and let dry.
6. Students can place colored dots on the tube for scales. Place one at the top for an eye, or paint it, then draw an eyeball.
7. Glue onto background.


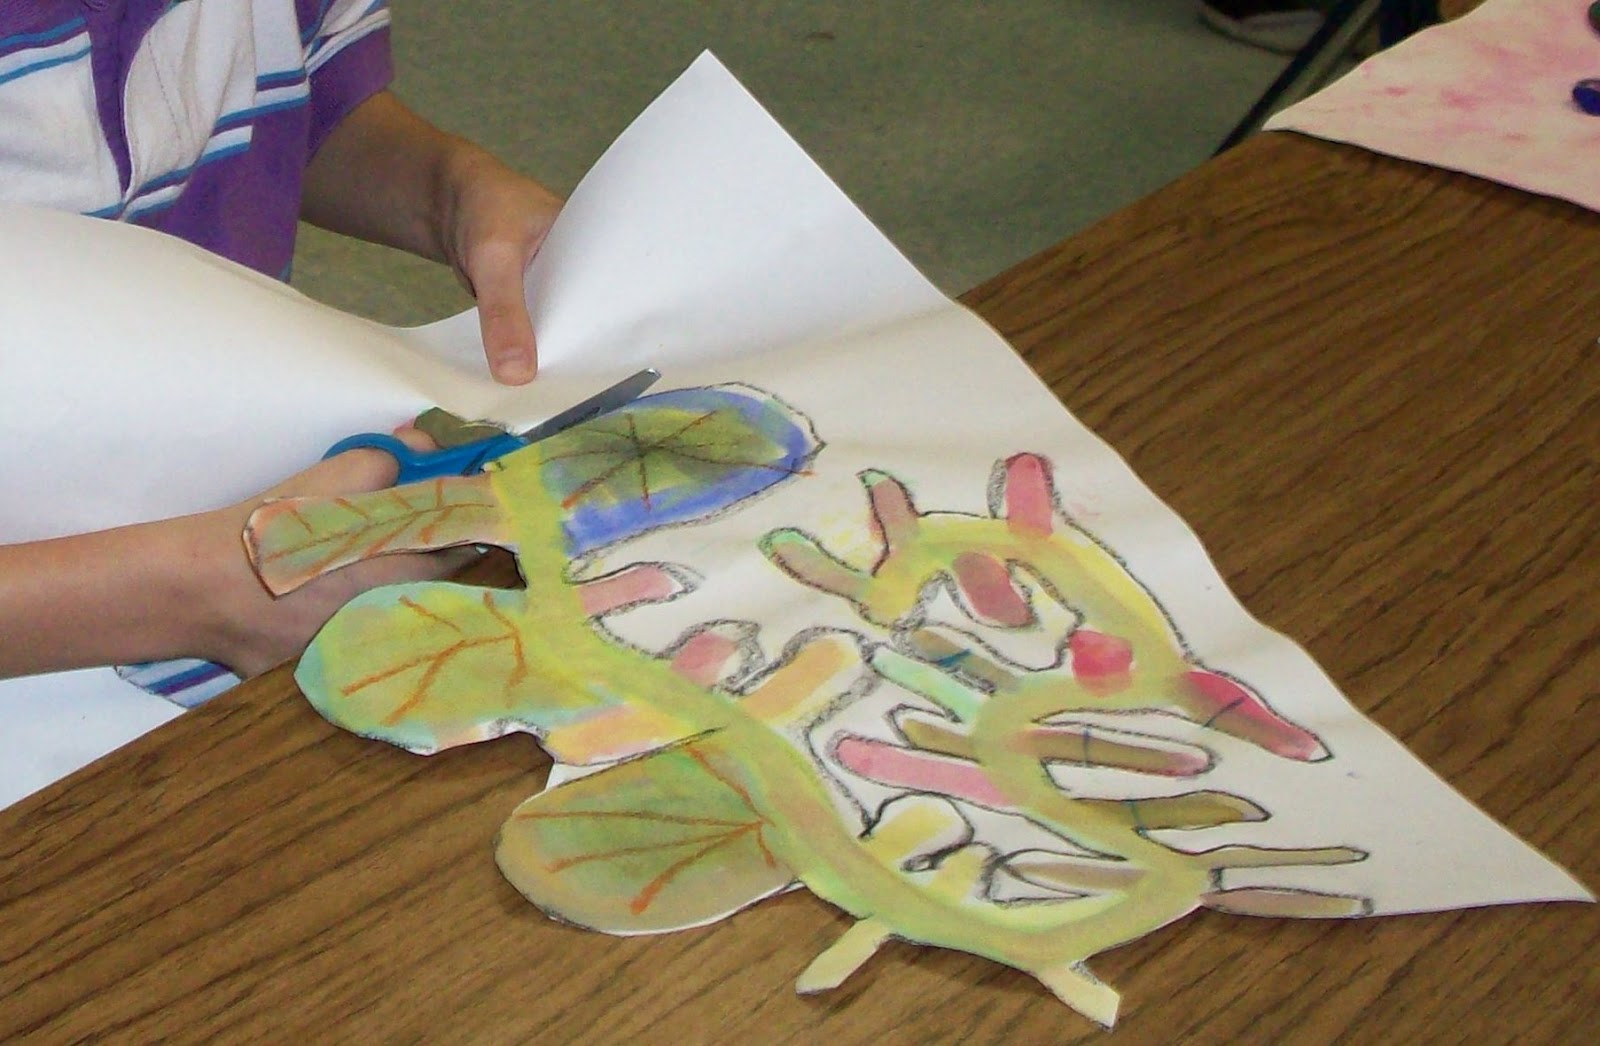
Rain Forest

This rain forest mural can be done with all grade levels, with each one making a certain group, ex. Kinder can make trees and tree branches, 1st gr. can make leaves and flowers, 2nd gr. can make butterflies and insects, 3rd can make reptiles and amphibians, 4th,5th can make any other rain forest animal.

You can provide a list of animals that come from the rain forest, and they can choose.( Of course, snakes are very popular, so you may need to steer some students towards another really cool animal) Students can use paint, markers and pastels. We discussed the levels of the rain forest and the animals that live in each level. They can place their animal or plant where it should go.


Insects and a Few Spiders


This idea is from Fem Manuals but with a few modifications.
Materials:
Felt
String
Tag board
Plastic notebook dividers
Scrap paper
Wire.
Pinking shears
Pom poms
Tacky glue
1. Cut ovals from tagboard, about 5 inches long.
2. Cut ovals from felt.
3. Students will glue these pieces together, and cut 4 or 5 slits on each side. (or teacher can do this)
4. Students will criss cross the string, starting from the back.
5. Cut small ovals from colored plastic for insect wings. If student would like to make a spider, then of course, no wings. Glue these on.
6. Use pinking shears to cut legs. glue these coming from back.
7. Cut a half oval from scrap paper and glue that on for the head.
8. Curl the wire if desired, and attach pom poms if desired for antenaes
9. Use some paper qulling and tightly curl strips of paper, for insect eyes. Glue on.

If student is making a spider, remind them to attach eight legs, (although I find every student knows this about spiders) and can use "hairy" yarn.

If you would like to mount one insect for display, here is an idea:

Clay Hearts


Materials:
White firing clay, though this could be made with Model Magic or air dry.
Scrap fabric cut into 8X8 squares
Scrap paper or card stock cut into 6X6 squares
Small mat board, cut into 10X10 squares.
Glaze or paint
1. Have students make a clay heart about 5 inches wide.
2. Dry and fire.
3. Glaze or paint any color.
4. Students can choose a piece of fabric and card stock to go with their heart.
5. Hot glue or tacky glue the heart onto the card stock square.
6. Glue the card stock square onto the fabric square.
7. Glue that onto the mat board piece. (As you can tell, there is a lot of assembly required, but they have a nice visual effect on display.)
8. They can add beads and paper quilling around the outside of the heart.


Long Legged Birds


This lesson explores the concept of opposites and color perception. You can have the students name some opposites, (like hot/cold, etc.) Though B&W aren't technically opposite colors,(as on the color wheel) you can explore how colors look against other colors (Albers)
Materials:
B&W paper cut to 10X15
White paint
Black paint
Small colored paper squares
1. Give students either a W or B paper.(You could let them choose,but if you are planning to display these, there will probably be an imbalance. Instruct on drawing the bird body like a tear drop shape. Remind them to leave a little space at the top.. Or, you can use a template. Add a circle head.
2. Paint over drawn bird body and add head and tail feathers, and beak. Paint claws on bottom.
3. Glue on colored squares.
4. Add a small dot for the eye.


Subscribe to:
Posts (Atom)